When Lawn Fawn released the Peacock Before ‘n Afters stamp set I thought it would work great for a card that I wanted to make one of my residents at work! His residency was 5 years long and I thought it would be fitting and a good farewell if I made the whole team sign it!
I just wanted to mention that I did end up making this card twice. The first time it became defective :(. I had used Recollections 110lb paper and I found that the card stock itself actually started breaking apart and splitting into the individual layers of paper. I did use my antistatic powder tool on the slats to decrease the friction but it eventually became so weak that it ripped. So I was back a square one.
The second time around, I decided to cut the Magic Picture Slider slats using Bristol. The paper itself is smoother so I figured it would decrease the friction. I’m happy to report that the mechanism works really well using this paper.
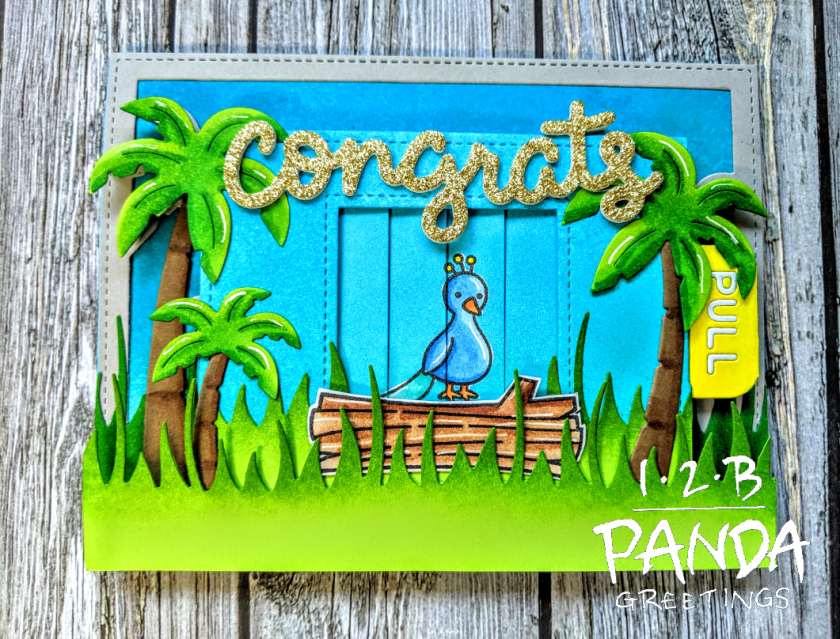
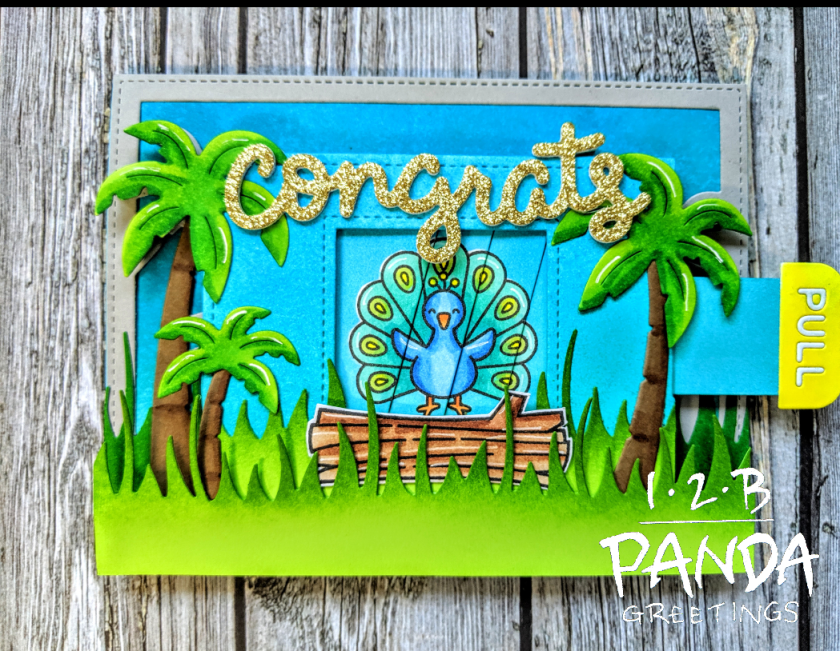
Anyways so I cut the 2 pieces for the magic picture slider and stamped the peacock directly over the slats. I did apply more pressure to ensure that I got a clean impression on the slats. I also took some Inkadinkado Masking paper and created masks for both peacocks. I covered each peacock and ink blended the panels using Distress Ink Peacock Feathers and Mermaid Lagoon. To ink blend, I used some make up brushes that look like the Picket Fence Life Changing Brushes that I found at Miniso last week. I’m happy to report that they applied ink and blended AMAZING and only cost $8CAD. I also ink blended the window panel from the Lawn Fawn’s Magic Picture Changer Add On and a piece of A2 sized white card stock (panel for card front) in the same way.
I decided I wanted to use the new Lawn Fawn Tropical Backdrop and tried to figure out a way that I would incorporate it with the Magic Picture Changer. I decided to cut the panel out of light grey card stock and use the placement of the palm trees as a template. I cut out the trees individually out of a light green and kraft card stock and set them aside.
I cut the tall grass border from Lawn Fawn’s Meadow Borders 3 times and set it aside.
I didn’t want the peacock to look like it was floating so I stamped and fussy cut a log from Lawn Fawn’s Toadally Awesome stamp set and set it aside to colour.
I peeled my masks off the peacock to reveal the white card stock underneath and proceeded to colour them with Copic Markers. I used the following Copics:
Peacock: B18, B14, B12, BG49, BG23, BG13, YR07, YR04, YG03, YG00, Y06
Log: E37, E33, E31
Palm Trees: E37, E33, E31, YG00, G14, G17
Pull tab: Y06
I did some more ink blending with the grass panels and just ink blended Distress Ink Mowed Lawn to the panel on the magic picture changer and in front of it and used Lucky Clover on the grass panel behind it.
I adhered my Lawn Fawn Tropical Backdrop panel to my ink blended card front. I glued the grass panel that was ink blended with Lucky Clover and the trunk of the furthest left palm tree directly to the card front.
I started assembling my card by adhering the magic picture changer together with score tape. I applied the Pull tab with Lawn Fawn Glue. The “PULL” letters were die cut inlayed back into the tab. I adhered my grass, log, and palm trees onto my magic picture changer component then added a double layer of 3M foam tape to the back of the piece. I added a triple layer of 3M foam tape to the tops of the palm trees that were overhanging the Magic Picture changer component. I did slightly move the right palm tree so that it would not obscure the pull tab. I adhered the magic picture changer component to the card front. I added a triple layer of 3M foam to the bottom of the front grass piece and applied it to my card. I didn’t add any adhesive to the tops of the grass because I wanted it to have more dimension.
To finish up the card, I die cut Lawn Fawn’s Scripty Congrats 3 times- twice in 110lb white card stock and once in a gold glitter card stock and adhered them together by stacking the on top of each other.
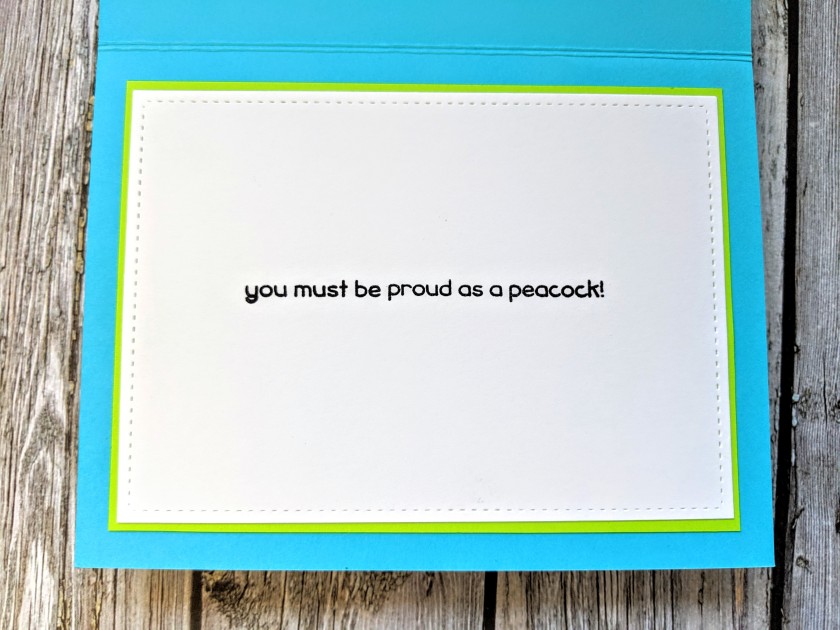
For the inside of the card, I die cut Lawn Fawn’s Large 4 Bar Stitched Rectangle and trimmed a matte out of green card stock for it. I stamped the sentiment, “you must be a proud peacock”, in Versafine Onyx Black Ink and heat embossed it with WOW Clear Gloss Embossing Powder. I didn’t want to add anything else to the inside because I wanted space for the whole team to be able to sign.
You can check it out in action here:
This card was entered into the current Lawn Fawnatics Challenge here, as well as Simon Says Stamps Monday Challenge here, and the 30 Day Colouring Challenge here.
That finishes up my card, I hope you all liked it!
