Guest Design Post: Intro to Craftin Desert Divas Harvest Happiness (Card 1/4)

Hey everybody,

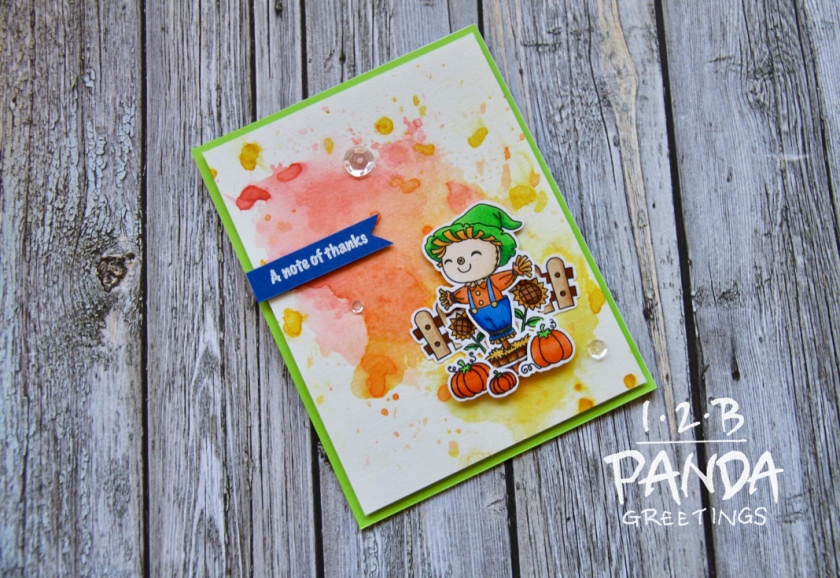
I’m guest designing for Craftin Desert Divas this week and wanted to give you a brief overview of the set and a series of examples. I will be sharing one example today but 3 more will be subsequently posted throughout the week using the same set. Each card will feature each scarecrow and my last card will include all 3. I don’t have any other Craftin Desert Divas stamps or dies so I will be using just this stamp set and simple techniques.

For my first example, I wanted to do a simple watercolour background using Distress inks and “ink smooshing”.

TfbYw0otQ0i73JvDX80WeQ_thumb_1721

You can watch my intro and card process below.

These are the Copic colours I used for colouring the images (in no particular order): B23, B24, B28, E50, E53, Y38, Y35, YR16, YR02, Y21, G07, YG06, E33, E37, C1, C3.

This card was also entered in Simon Says Stamps Wednesday Challenge here.

Thanks for stopping by! I’ll be back soon with another example featuring the girl scarecrow.


https://linkdeli.com/widget.js?1505902049622

Lawn Fawn Summer Release Haul and Review

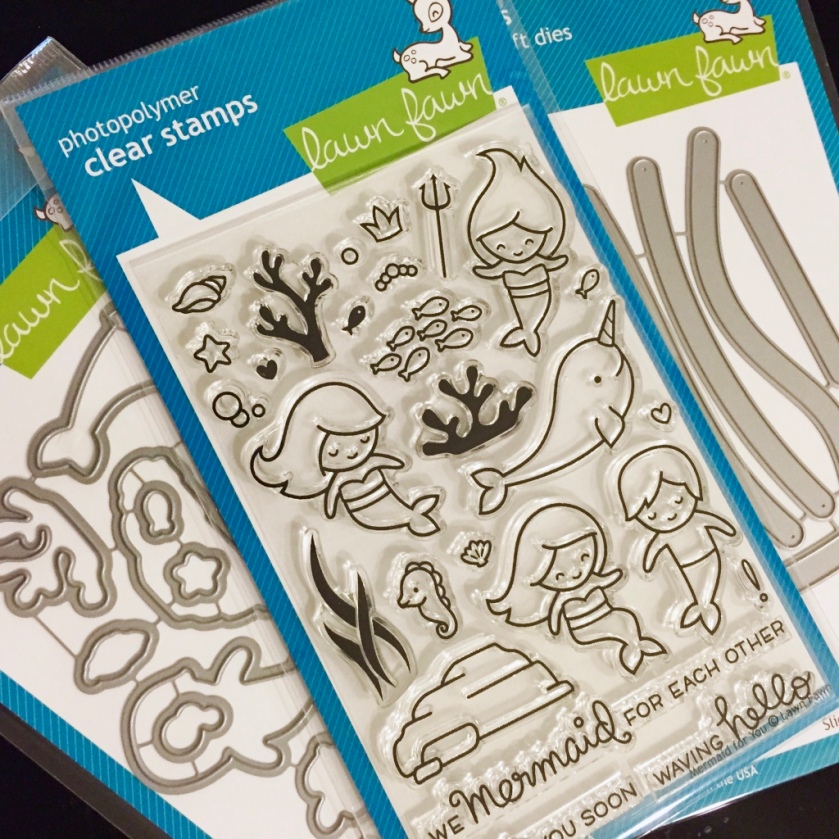
Happy mail came for me few days ago. I WAS SO EXCITED! This particular order had a few items from Lawn Fawn’s summer release including the Mermaid For You stamp set, coordinating dies, Slide On Over dies, and the new inks: chilli pepper, guava, and blue jay. Ever since I saw the preview for the release I had my eye on the mermaid set!
thumb_IMG_3842_1024

I love it when companies release sets that coordinate well with previously released sets (ie. Fintastic Friends and Jelly Star). What’s great about this set is that it’s so unique! I haven’t seen a mermaid stamp set quite like this one on the market yet.
thumb_IMG_3849_1024

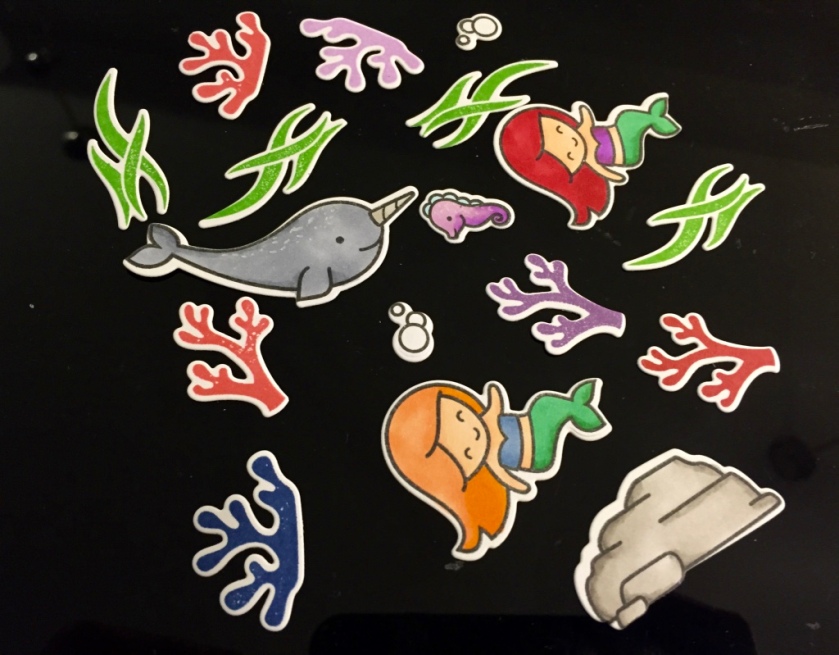
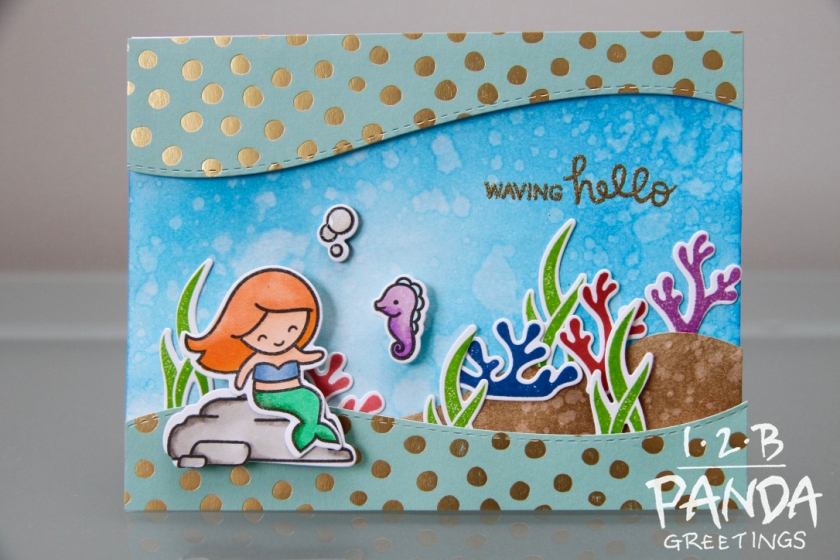
The mermaid characters were drawn in a very cute style and come with  accessory stamps to dress up them up. In addition to that, Lawn fawn has even included a cute seahorse, narwhale, several scene building stamps (coral, seaweed, large rock, and fish), and a couple pun filled sentiments: “We mermaid for each other”, “Sea you soon”, and “Waving hello”. I’ve kind of been working on scene building lately  and I don’t have many other sets that can build ocean scenes with so the Mermaid For You set is a great start!
thumb_IMG_6028_1024


Another thing that I was really excited about was playing with the Slide On Over dies (partially pictured in the first photo, on the right). I LOVE INTERACTIVE CARDS!!  This is a great use for pennies except too bad Canada got rid of pennies in 2013!! I thankfully have a handful of American pennies to try this with from my last trip to Florida! Lawn Fawn nicely included sliding slots for both long and short straight and curved tracks and one partially and one really curvy track. So far I have only had time to made one but I am really looking forward to making more of these interactive cards. Check it out in action below.


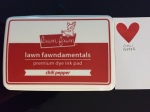
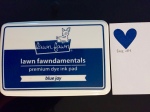
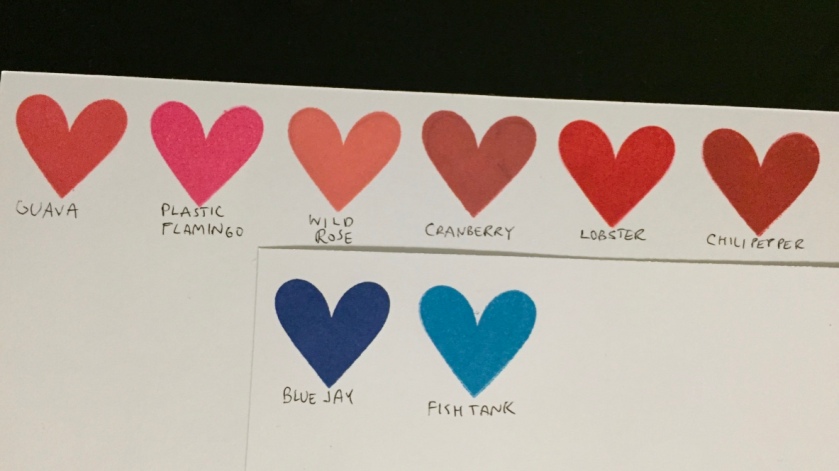
Lawn Fawn also added three new inks to their collection: Guava, Chili Pepper, and Blue Jay.

Compared to other inks in their collection, Guava’s kind of a slightly darker, bolder Wild Rose and Chili Pepper is like a cross between Cranberry and Lobster. These two new ink additions would be really useful for layering stamps. I really like Blue Jay. It’s a beautiful royal blue and a great addition to their colour collection. Here’s what they look like in comparison to similar colours in their collection.
thumb_IMG_3872_1024

I’m super excited to start playing more with my new stuff! Look forward to a tutorial in the future! If anybody is interested in anything in this post, the links are below.
Wedding Thank You Cards: Part 1

I’m backlogged in my posts a bit. I have so much to catch up on!! While I was recovering from surgery, I decided to take on my wedding thank you cards as a project. Unfortunately, I had already bought some cards and written some of the thank you cards out prior to my surgery and urge to get into card making, so not everybody received a handmade card. The majority of them looked like this:

thumb_IMG_5646_1024

thumb_IMG_5647_1024


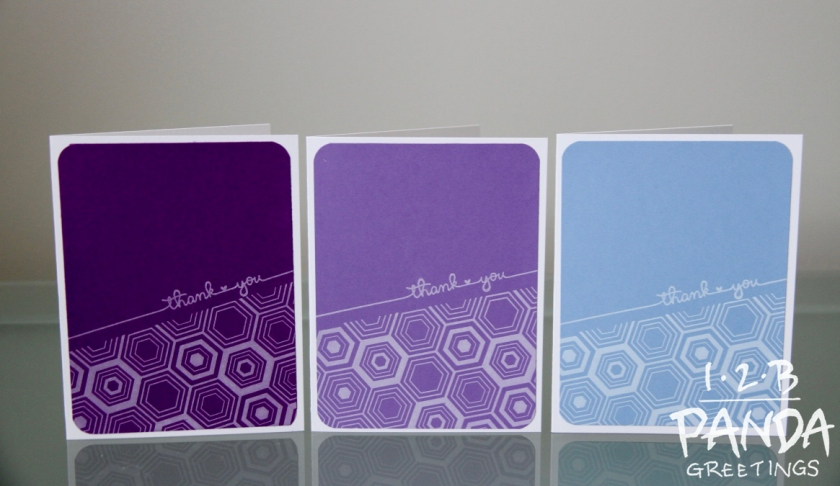
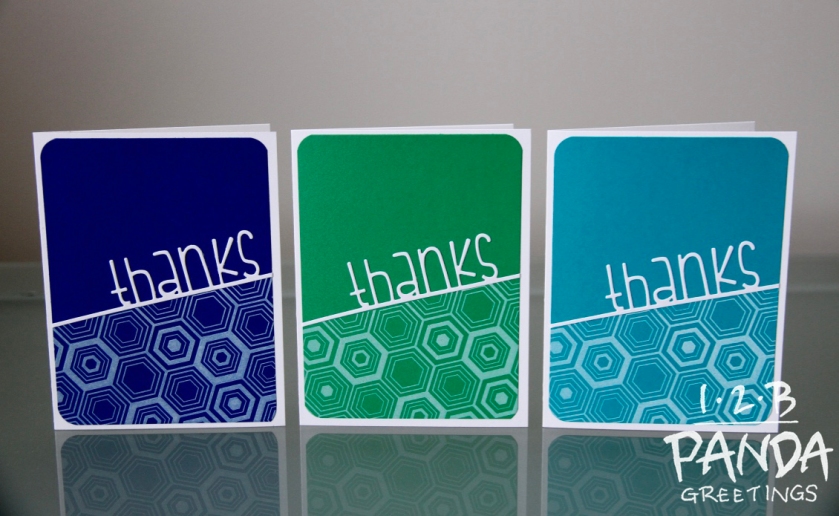
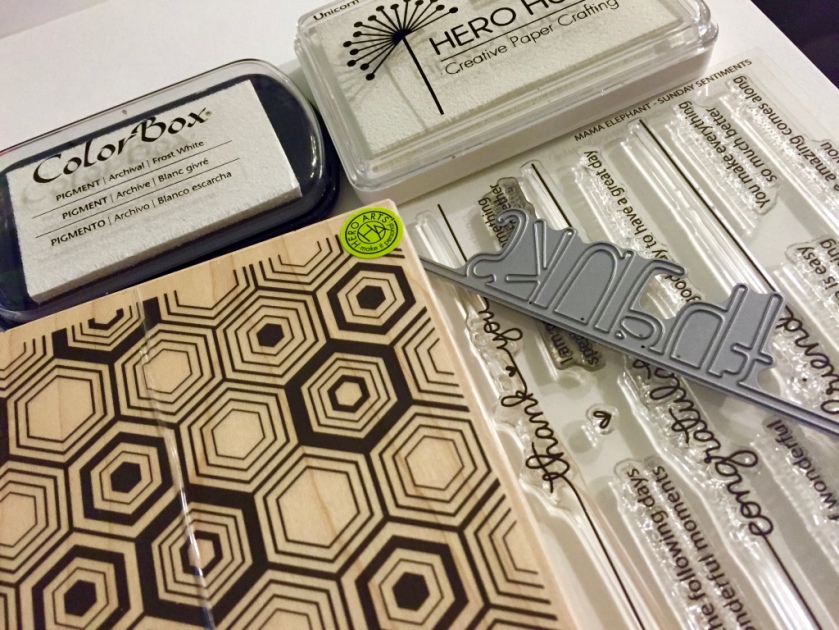
I wanted them to be clean and simple. I also wanted them to be feminine and masculine looking and I wanted the cards to follow the same design pattern so I would be able to reproduce them quickly. I decided to use an awesome hexagon background block stamp by Hero Arts for the main design. I really love the design on this stamp. It really stuck out to me when I was looking for background stamps on Amazon because it’s so visually interesting. I bought this as a wood block stamp. Had I had known that it came in a cling version, I would have bought that instead! As much as I like the impression that a rubber stamp gives, I find it takes up too much space to store and I don’t have a lot of space to start with. I need to find a better organization solution or maybe I just need a bigger house hahaha…. >_>

Anyways, for feminine cards I used the thank you script stamp from Mama Elephant’s Sunday Sentiments set and Simon Says Stamp’s Thanks on a line craft die for the more masculine ones.

thumb_IMG_3674_1024


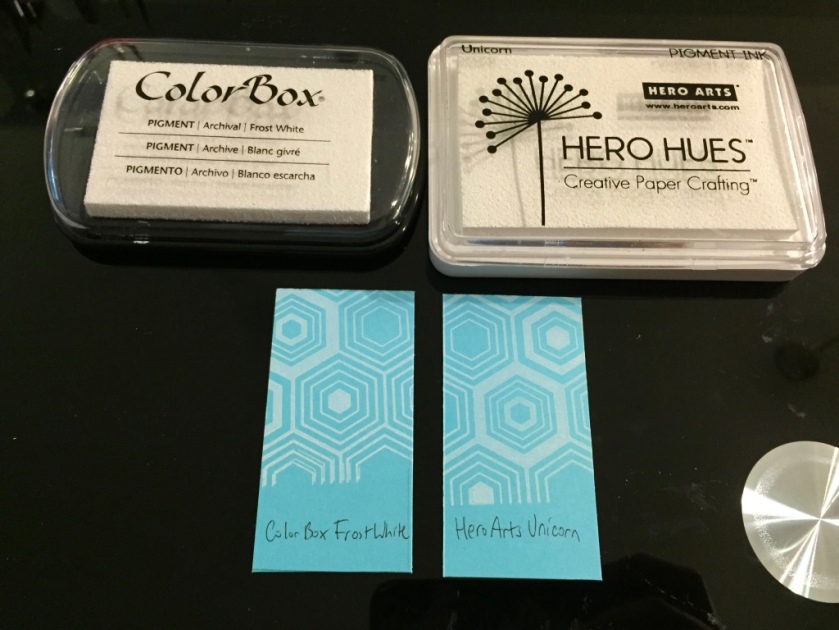
I tried two different white inks for these cards- One by Colorbox and other by Hero Arts. Since I was relatively new to paper crafting when I made these cards, I wasn’t sure what ink was good so I bought both! Here’s a side by side comparison of them.

thumb_IMG_3711_1024

Both are pigment inks so they tend to take a bit of time to dry but I found the Hero Arts ink dried a bit faster. There is also a difference in the material that the ink pads are made of. Color Box is like a soft, thin sponge, while the Hero Arts one is firmer. Personal preference, I like ink application with the Hero Arts one a bit more because of the firmness of the ink pad but both worked well for what I needed it for.

Here’s how I made these Thank you Cards:

  1. Create card base: Cut card stock down to size (8.5″ x 11″) and use bone folder to crease centre so the card bases measure 4.25″ x 5.5″. Set aside.
  2. Cut card front out of coloured card stock (4.25″x 5.5″).
  3. Stamp hexagon stamp diagonally over lower 1/3-1/2 of card front. For more feminine cards, stamp scripty thank you a few millimetres above hexagon design. For more masculine card, die cut thanks from white card stock and adhere to card front.
  4. Trim a few millimetres off each side of the card front and round corners with corner chomper. Adhere card front to card base with adhesive tape runner.
  5. Stamp inside greeting. For these cards I used the Mama Elephant Sunday Sentiments set and stamped, “I am grateful that something special has brought us together.”

I made like sixty of these, then got tired of them and started doing other designs for thank you cards. I’ll share them in the future.  If anybody is interested in the products I used, I have linked them below.

For my Canadian friends, here’s some things you can get from Amazon.ca: