I absolutely adore the work of some illustrators! This particular post is in admiration for Kamo who illustrates for Waffle Flower! I love how she draws her people and animals. They’re simply adorable. I’m slowly building my Waffle flower collection and looking at what I have, it’s mostly stamp sets designed by Kamo.
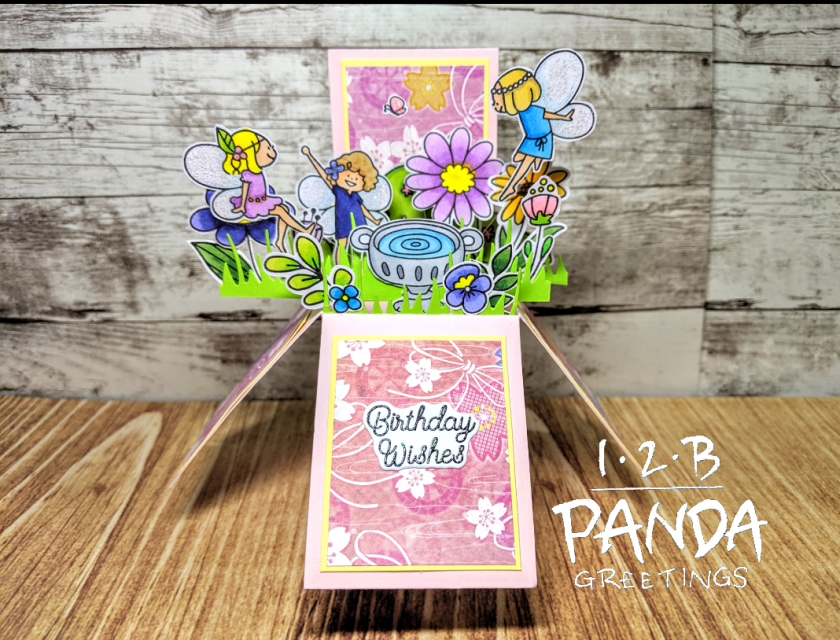
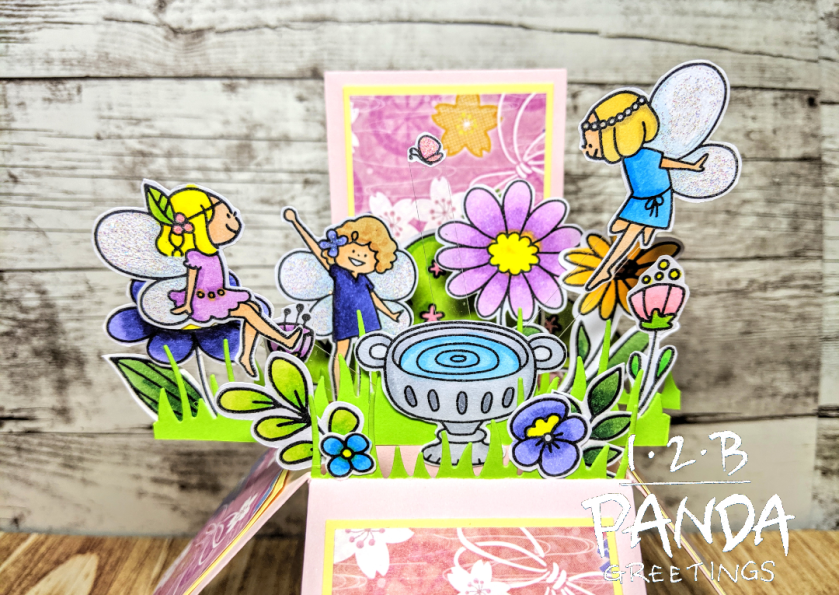
I’ve been sitting on this idea with these cute fairies from Waffle Flower’s Little Fairies stamp set for a while. I’ve had the stamp set sitting on my desk and everything but my work place shoulder injury really killed my crafty mojo. Now that I’m slowly getting back into things, this idea can finally come into fruition!
If you’re unfamiliar with box cards, you can check out my box card base tutorial below:
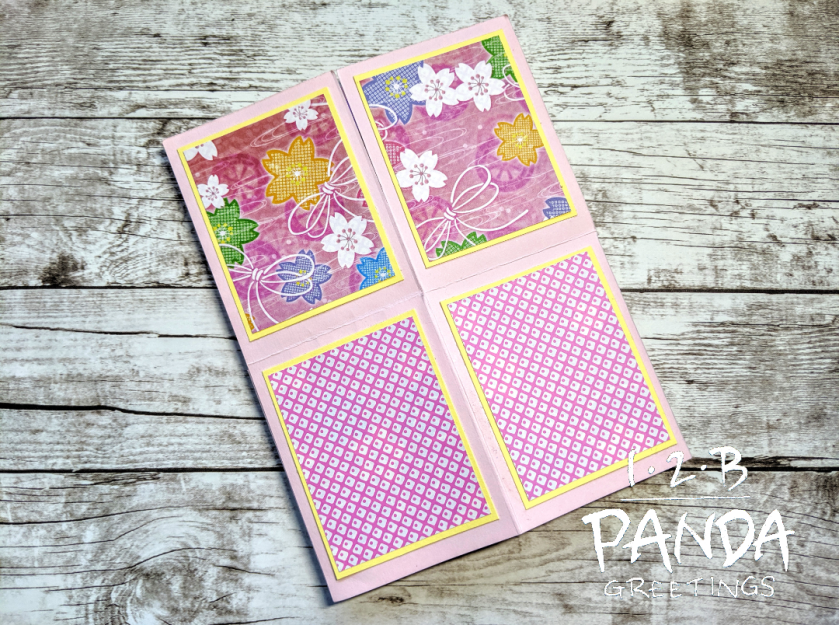
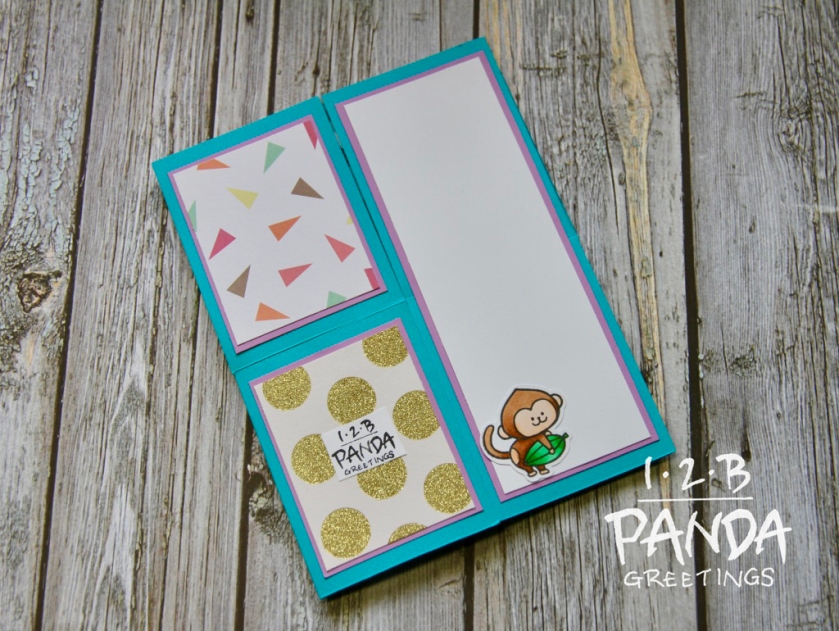
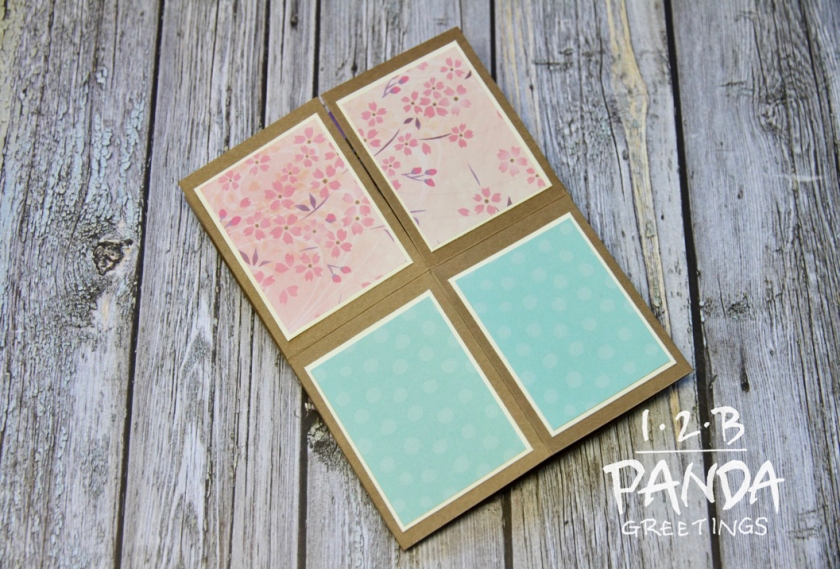
Front of Card
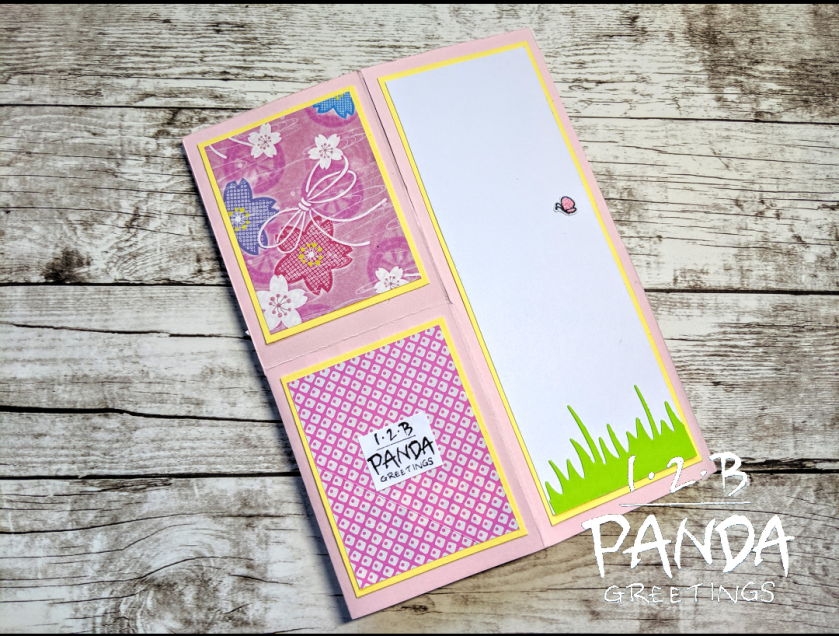
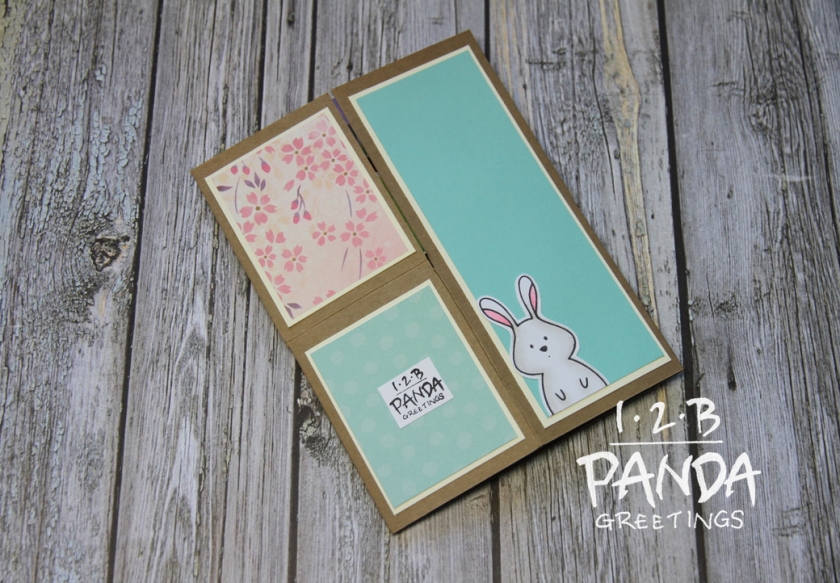
Back of Card
The patterned paper for this card was actually origami paper that I acquired at Daiso. This box card had 4 slats in the box to start.
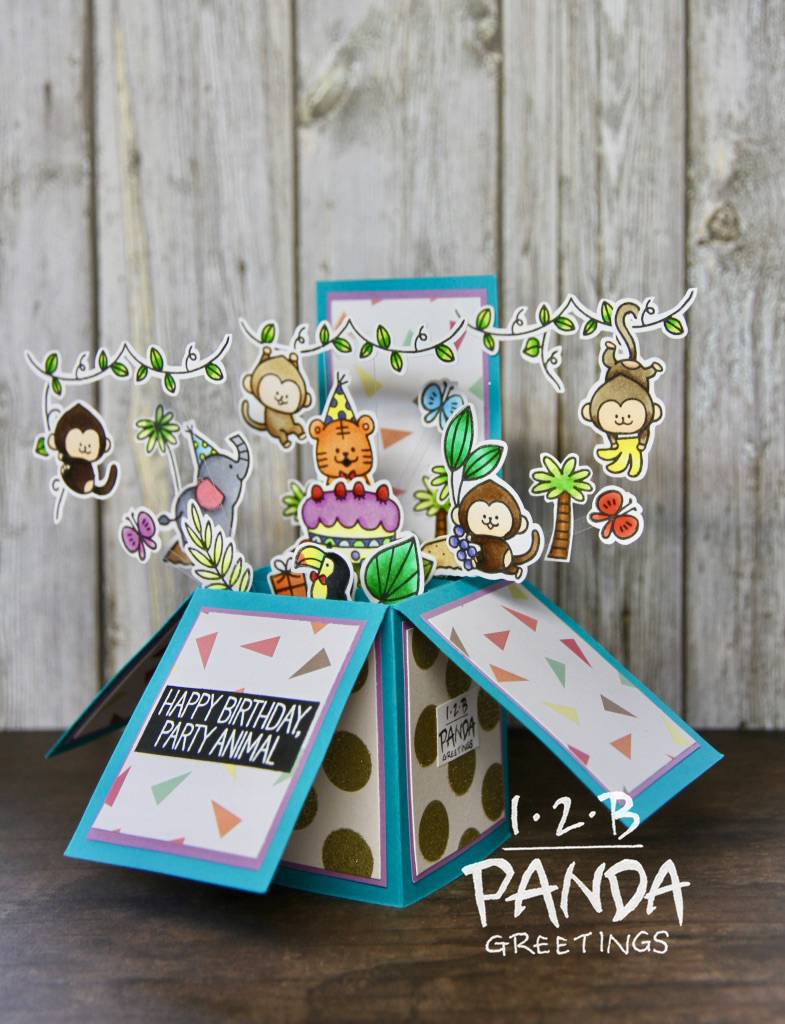
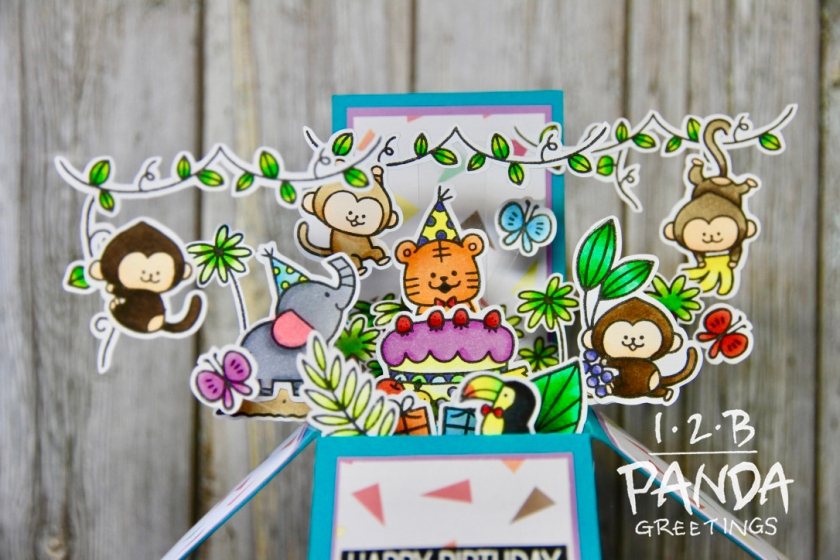
I stamped the images from Waffle Flower’s Little Fairies and Spring Time Stamp sets with Hero Arts Intense Black Ink and coloured them with Copic Markers. I used the following marker colours for this project: R21, R23, BV08, BV04, BV02, V15. V12, V01, Y08, Y06, Y21, Y38, Y35, Y28, C5, C3, C1, 0, B05, B02, B00, B000, E95, YR00, E33, E31, YG17, YG03, G28, and G24.
This is kind of a tangent but DID YOU KNOW that coordinating dies from Waffle Flower come detabbed?! That means you don’t have to take your snips to cut them apart! You know what else is super awesome!?! Their coordinating dies also include a die that cuts around the sentiment! Isn’t that awesome?! Am I the only one that gets excited about stuff like this? lol
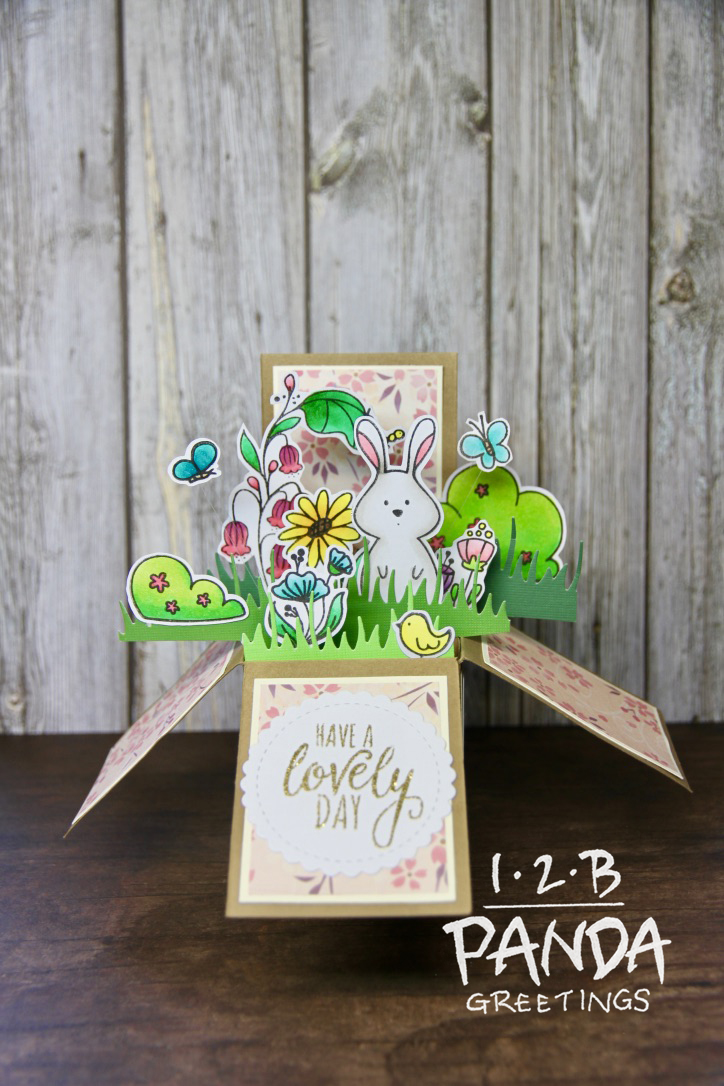
For the butterfly and fairy wings, I adhered Lawn Fawn’s Prisma Glitter with a Sakura Quickie Glue Pen.
I die cut 3 grassy edges using Lawn Fawn’s Meadow Borders and adhered them on tabs and onto the front of the box card and slats 1 and 3.
On my second slat, I adhered one fairy and a butterfly onto strips of acetate to make them appear as if they were floating. The purple flower was also adhered onto acetate to create depth to my scene.
I adhered a large bush image onto card stock tabs and onto my 4th slat, a small bush directly to the background of my box card, and adhered everything else to the grassy borders.
I stamped out the sentiment, “Birthday Wishes”, with Versafine Onyx Black Ink and heat embossed it with Hero Arts Sparkle Embossing Powder. I die cut out the sentiment with its coordinating die and adhered it to the front flap.
To decorate the writing space, I just adhered a bit of the grassy border to the bottom writing space and added a butterfly.

You can check it out in action here:
You can check out more of Kamo’s work here.
You can check out other cards I’ve created using Kamo’s line of stamps below.
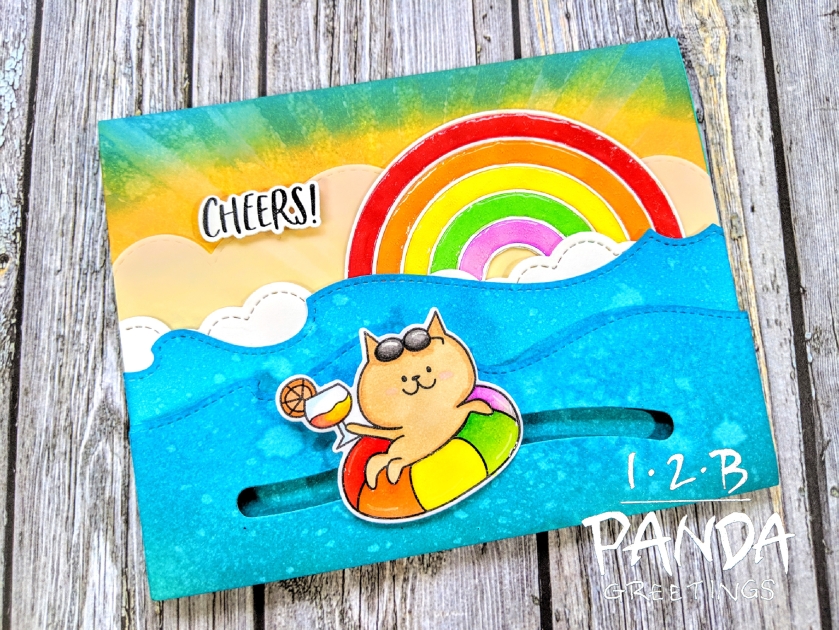
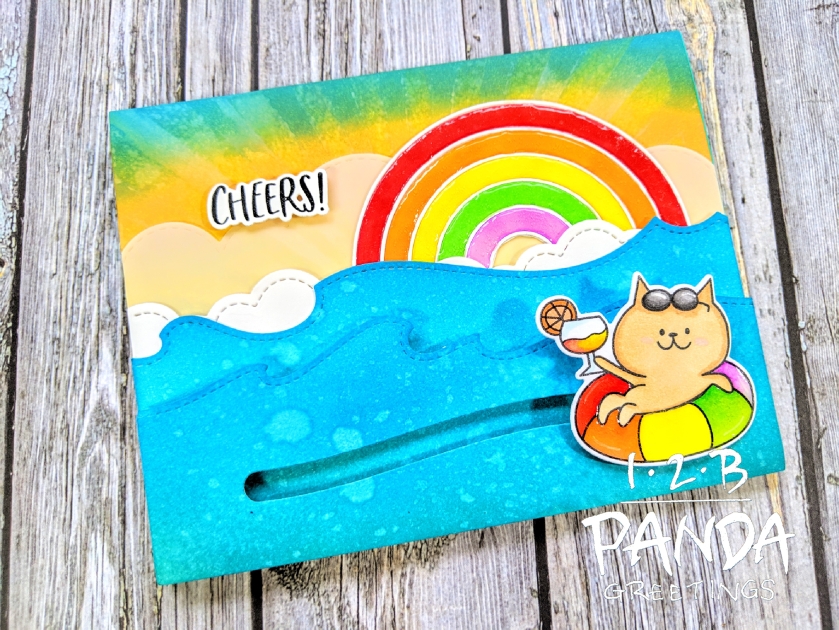
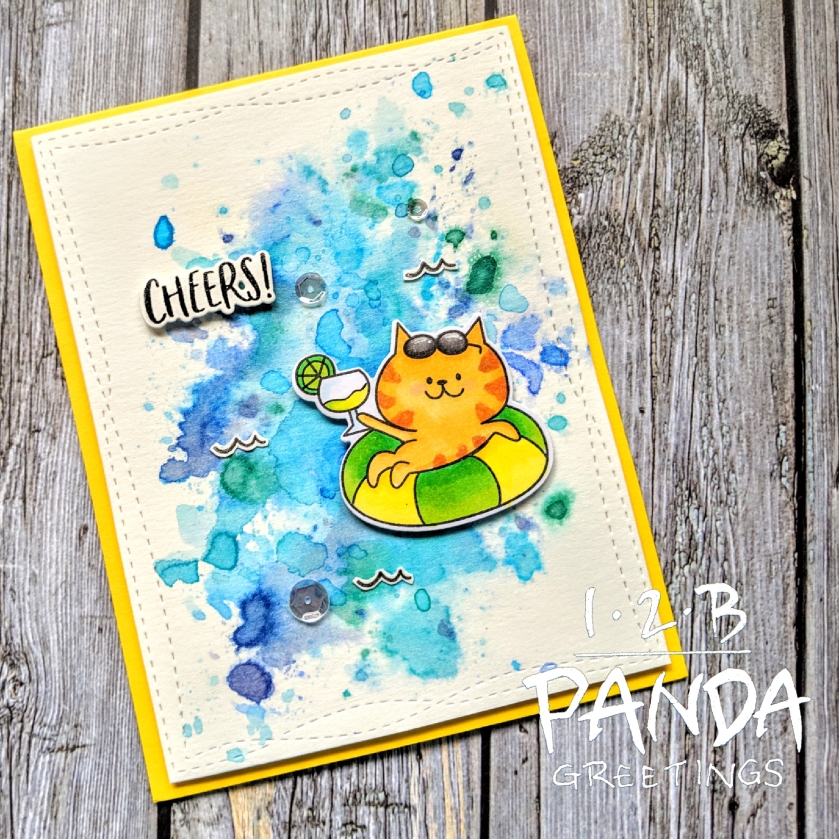
Cheers Ink Smooshed Birthday Card
This was also Day 30 of the 30 Day Colouring Challenge. You can find out more details here.
Thanks for stopping by!!